A finished zipper costs a few cents and disappears into a seam, so it is easy to assume it is simple to make. It is not. Turning polyester yarn and raw metal or resin into a closure that opens smoothly ten thousand times is a multi-stage manufacturing process, and each stage is a place where quality is either built in or quietly lost. This guide walks through how a zipper is made, step by step — and shows you why the process itself is the clearest signal of a real factory versus a trader.
If you want the vocabulary for the components named below, our guide to the parts of a zipper is a useful companion.
Step 1: Weaving and dyeing the tape
Everything starts with the tape — the woven fabric strip the teeth will sit on. Polyester yarn is woven on narrow-fabric looms into kilometres of tape, with the edge (the “bead” that carries the coil) built in during weaving.
The tape is then dyed to the required colour. This is the first quality fork in the road: a factory with its own in-house dyeing controls colour precisely and can guarantee lot-to-lot consistency against a Pantone reference. A workshop buying pre-dyed tape cannot. Colour drift between production lots is one of the most common complaints in apparel sourcing, and it is decided here, at step one.
Step 2: Forming the teeth
The teeth (or elements) are made in one of three completely different ways, depending on the zipper type. This is the step that most defines what the finished zipper is.
Nylon coil
For nylon coil zippers, a single monofilament is heated and wound around a forming pin into a continuous coil, with the characteristic interlocking heads shaped as it goes. The coil is set so it holds its shape, then later sewn onto the tape. This is the fastest, most economical path and the reason coil dominates everyday apparel.
Resin (moulded)
For resin zippers, molten acetal (POM) resin is injection-moulded directly onto the tape: the tape is fed through a mould, and individual teeth are formed and bonded to it in one shot. Injection moulding requires real tooling and presses — equipment a trading company will never own.
Metal
For metal zippers, a flat metal wire (brass, aluminium or gunmetal) is stamped into individual Y-shaped teeth, which are then clamped onto the tape edge one by one at high speed. Stamping dies are expensive and precise, which is part of why metal zippers cost more.
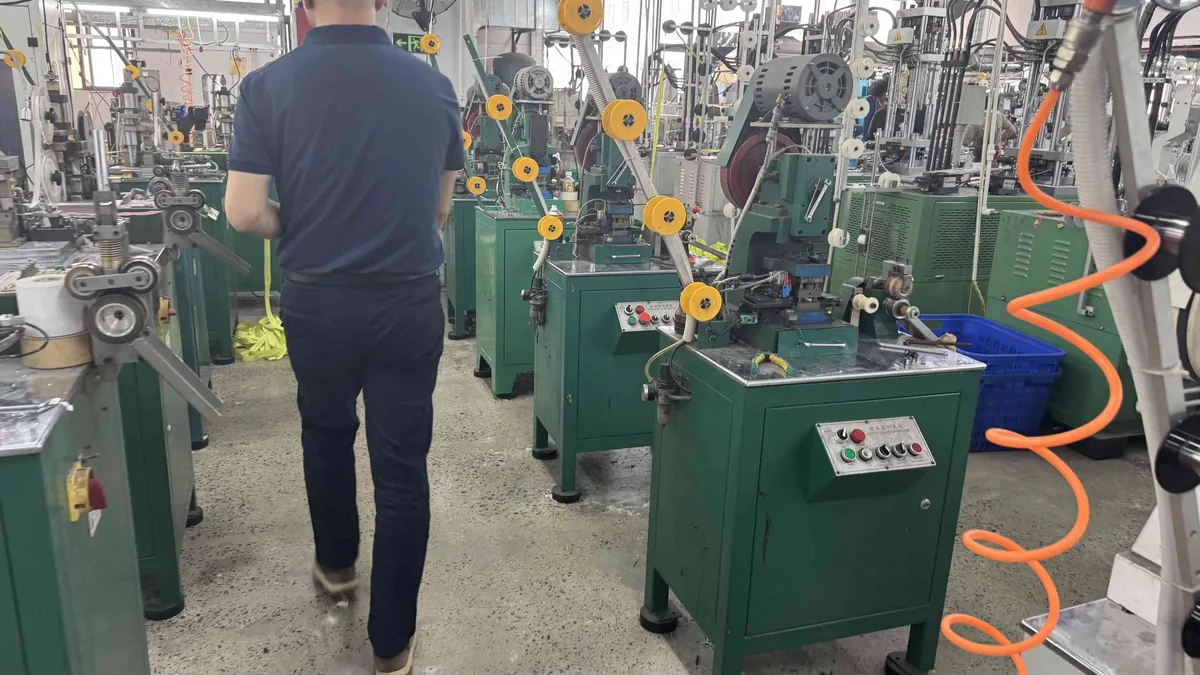
Step 3: Attaching the teeth and forming the stringer
However the teeth are made, each row must be fixed to a tape to create a stringer — one half of the zipper. Coil is sewn on with a lockstitch; resin is already bonded from moulding; metal teeth are mechanically crimped. The accuracy of this step decides whether the two stringers will mesh cleanly later. Misaligned teeth are the root cause of a zipper that splits or jams, so spacing and clamping force are checked continuously on a real line.
Step 4: Plating and finishing
Metal zippers go through an extra stage that strongly affects both look and durability: plating. The stamped teeth and sliders are electroplated to the chosen finish — polished brass, antique, gunmetal and so on — in the factory’s own plating line. The plating is then salt-spray tested to confirm it resists corrosion; a finish that looks right but tarnishes after a season has failed this test. Resin and coil take their colour from the resin or the dyed tape rather than plating, so finishing for those types is mostly about colour matching and trimming.
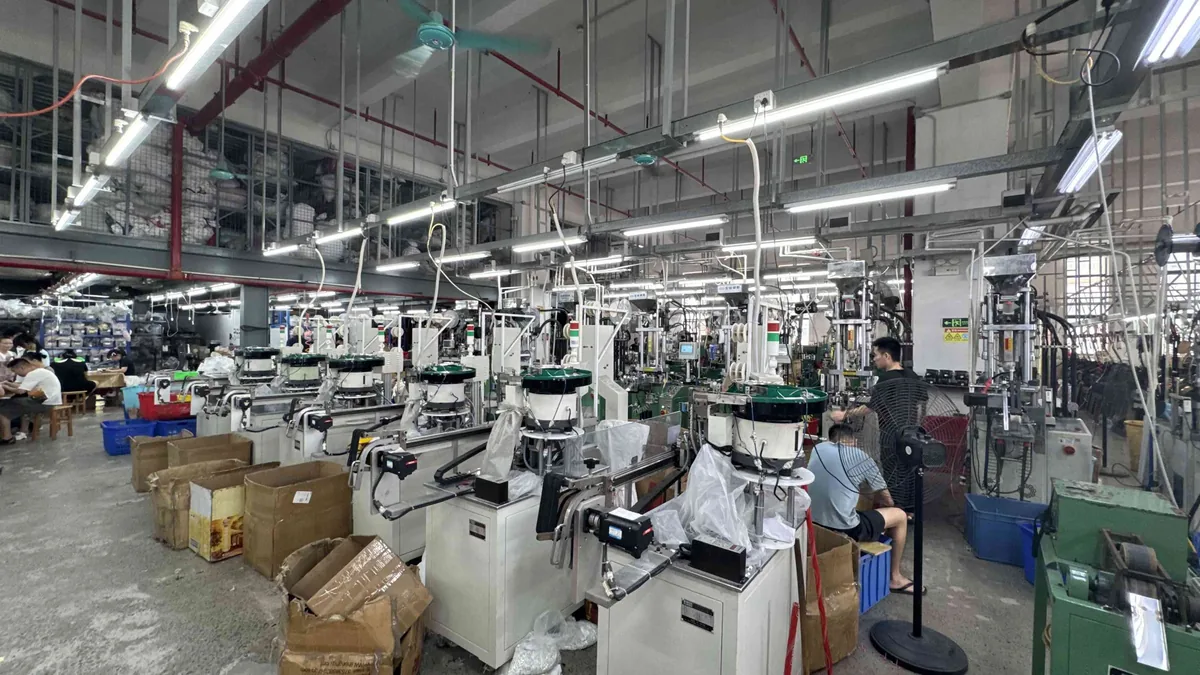
Step 5: Assembly
Now the two stringers become a working zipper. On the assembly line:
- The two stringers are meshed together into a continuous chain.
- Sliders are fed onto the chain, and the pull is attached. Slider type — non-lock, auto-lock, two-way — is set here.
- The chain is cut to length for the order.
- Top stops are applied at the top of each side; a bottom stop is fitted for a closed-end zipper, or a box, pin and retainer for an open-end (separating) one.
Each of these is a small machine operation, and the difference between a smooth, even chain and a notchy one is the calibration and maintenance of these machines. Choosing the right size and slider for the product happens long before this — see our guides to zipper sizes and zipper types.
Step 6: Quality control and testing
A serious manufacturer does not inspect quality at the end — it tests throughout, and verifies on finished goods. The checks that matter most:
- Lateral pull strength. A tensile tester pulls the closed chain apart sideways; the industry threshold is ≥ 3 kg, and a real factory tests to it batch by batch.
- Slider cycle life. Sliders are run open-and-closed thousands of times to confirm they do not loosen or jam.
- Salt-spray corrosion. Metal parts sit in a salt-spray chamber to prove the plating lasts.
- Visual inspection. Finished tape runs along an inspection conveyor where operators catch colour, alignment and stitching defects.
This equipment — a tensile tester, a salt-spray chamber, an inspection conveyor — is expensive and pointless for a trader to own, which is exactly why its presence is a reliable test of a real manufacturer. You can see ours in action on our quality page.
Step 7: Trimming, packing and shipping
Finished zippers are trimmed, counted, and packed — often with branded pulls or polybags for retail-ready orders. For waterproof and specialty products the packing also protects the TPU-laminated tape from creasing. Good factories keep traceability here too: lot numbers tie each box back to the production run and its test records.
Why the process reveals a real factory
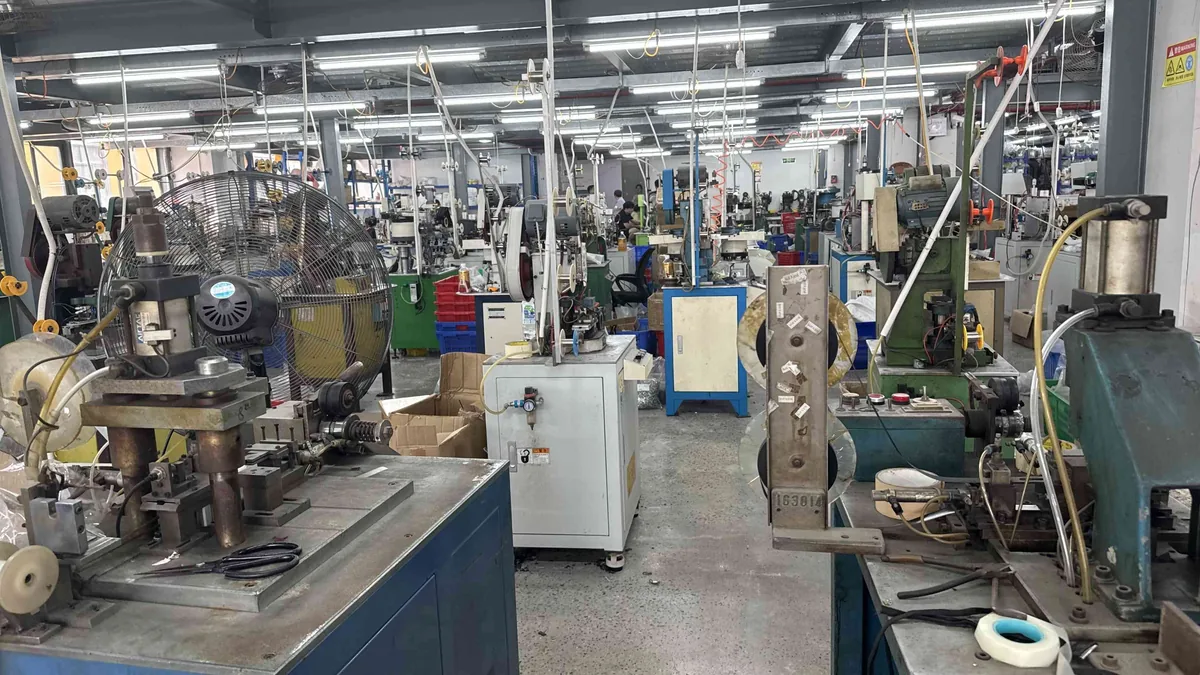
Read back over those seven steps and notice how many require owned equipment: looms, dyeing lines, injection presses, stamping dies, plating tanks, a QC lab. A genuine Tier-1 manufacturer performs them in-house and can show you each station on a live video walk. A trading company performs none of them — it buys finished zippers and re-sells them. That is the whole reason understanding manufacturing protects you as a buyer: it turns vague claims into specific questions. For the full checklist, see our buyer’s guide to YKK alternatives, or take a virtual walk through our own factory tour.
The bottom line
A zipper is made in seven stages — weaving and dyeing the tape, forming the teeth, attaching them into stringers, plating and finishing, assembling with sliders and stops, testing, and packing. Quality is built (or lost) at every one, and most of those stages require equipment only a real factory owns. Understanding the process tells you what to look for, what to ask, and how to tell a manufacturer from a middleman.
Want to see how your zippers would be made? Send us your specs for a quote and a sample, and ask for a live walk-through of the production floor.
Frequently asked questions
How is a zipper made, in simple terms? The tape is woven and dyed, the teeth are formed (nylon coil, moulded resin or stamped metal) and attached to the tape, metal parts are plated, then sliders, pulls and stops are assembled onto the chain, which is cut to length, tested and packed.
How are the teeth on a zipper made? It depends on type: nylon coil is wound from a heated monofilament, resin teeth are injection-moulded onto the tape, and metal teeth are stamped from wire and clamped on individually.
What is a zipper tape made of? Usually woven polyester. On waterproof zippers the tape carries a laminated TPU film; on reflective zippers it carries a retro-reflective strip.
Why are metal zippers more expensive to make? Metal teeth must be stamped from wire with precision dies and then electroplated and salt-spray tested — extra stages and tooling that coil and resin do not require.
How can I tell if a supplier actually manufactures zippers? Ask for a live video tour showing owned equipment — looms or dyeing, injection or stamping, and a QC lab with a tensile tester and salt-spray chamber. A trader cannot show these because it does not own them.